This isn't my first run through, by the way, which is why I know that installing Alsa makes the sound work.
I'll build a small one for browsing. I'll use Gnome (because I'm comfortable with it), Firefox, Flash and Java (because they work) and Alsa ('cos I want to hear YouTube as well as watch it).
Let's take a look...
After signing in I'm greeted with this page, where I can choose my template. I'll select Gnome. You can see the other choices, KDE4 would be bigger, IceWM smaller and the JeOS option even smaller.
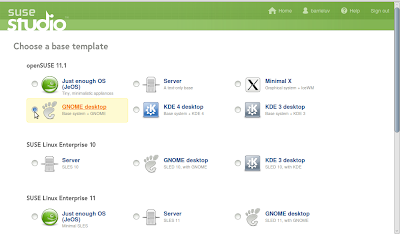
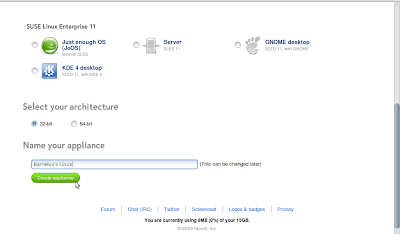
Scrolling down the page, there are options for Suse Enterprise editions and at the bottom, you have to choose your architecture (32-bit for me) and give your project a name. Hmm.....
So, clicking the Create Appliance button brings us to a welcome screen. Down the left side you can see some details of the project. I'm using 1.01GB of my 15GB work space and the download size currently stands at 290MB. You can click on the "Packages Selected" and start removing stuff if you want to. I won't.
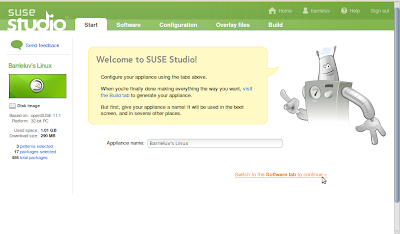
Along the top you can see tabs for Start, Software, Configuration, Overlay Files and Build and I'll work my way though them starting with Software.
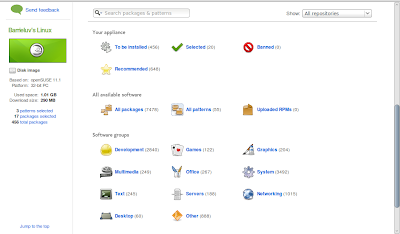
On the Software tab you can choose which packages to add/remove and which repositories to have enabled. You can search for packages in the search bar or...
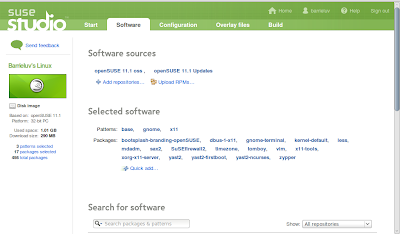
...scroll down the page to see the package groups.
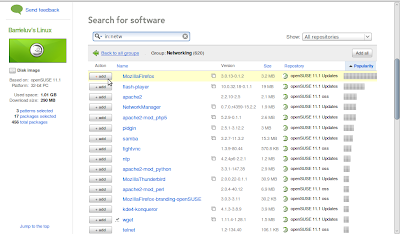
To add Firefox and Flash, I click on the Networking group. And there you can see Firefox and Flash. Click on the add buttons beside them and you're done. Then I added the Alsa stuff (alsa, alsa-plugins, alsa-tools, alsatools-gui and alsamixergui) and Java (java-1_6_0-sun and java-1_6_0-sun-plugin)
Dependencies are automatically taken care of and any conflicts will show up in the left side bar.
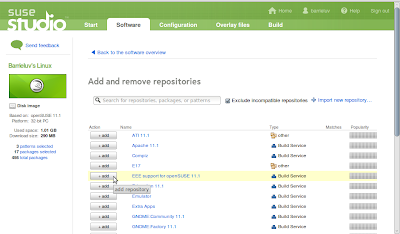
Now, I want to add the Packman 11.1 repository which has lots and lots of extras in it and, because I'm using an Eee PC, the Eee Support repository. You search for and add these in exactly the same way as you would the packages.
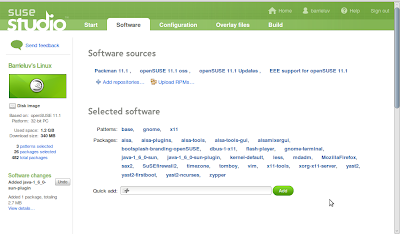
Once it's all done, go back to the software overview and you can see the changes in the repository and software lists at the top of the screen.
Once it's all done (and that could take some time depending on what you want and how often you change your mind) click on the Configuration tab. Which has more tabs. General, Personalize, Startup, Server, Desktop, Storage & Memory and Scripts.
Lots to do here. Let's start with the Default Locale and Timezone. I'm in the UK...
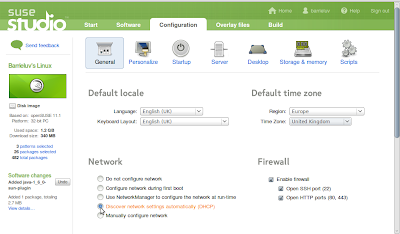
I'll leave the Network and Firewall settings as they are.
Scrolling down the page, you can add your users and groups. I'll change the user "tux" to "barrieluv" and give me a new password and then I'll add a new user, "kait" and give it a password, too. I'll change the root password as well.
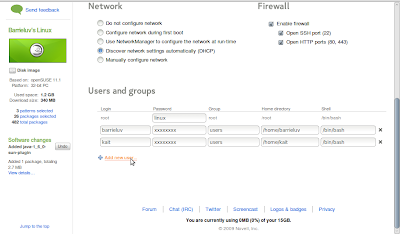
Then go to Personalize...
Here, I can upload a new logo and default wallpaper. The logo doesn't appear on the desktop, but you do get a small "Built with OpenSuse Studio" badge in the corner.
I won't have a logo, just a wallpaper. So I upload the new wallpaper, select it and select the blank box for the logo.
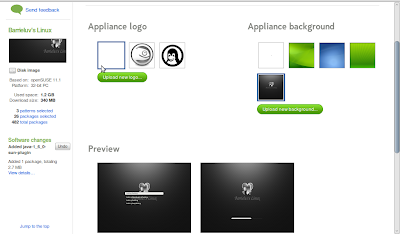
Now on to the Startup tab. Here you can choose your Default Runlevel (I'll leave mine as it is) and add an EULA. Which I have.
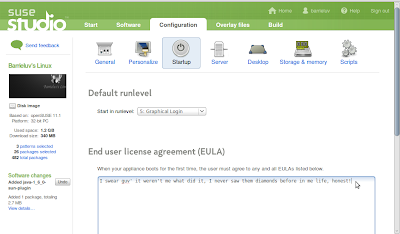
The Server tab is next. It just asks if you want to configure MySQL Database. I'll leave it alone.
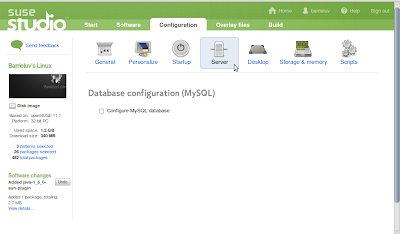
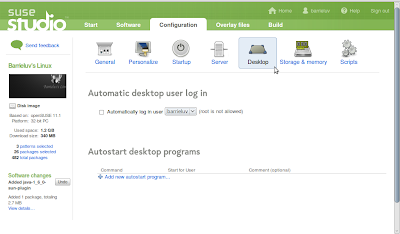
Then the Desktop tab. No auto login for me and I don't need anything to autostart.
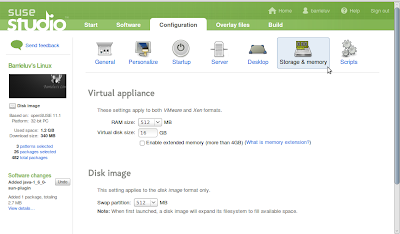
Storage & Memory. Again, no changes for me here.
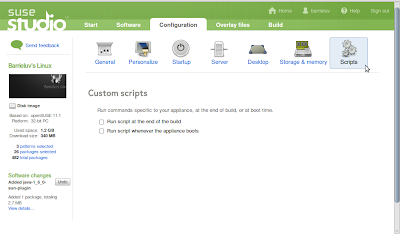
And finally, Custom Scripts. Of which I know nothing. Blimey, I sound really dumb...
So, with the Configuration tab completed, it's time to move on to Overlay Files. This is wasted on me...
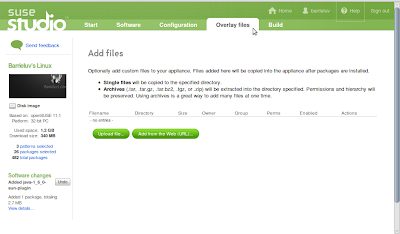
And so to the Build tab.
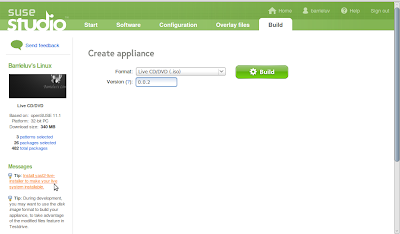
Here you can decide which format you want your build to have and you can give it a version number, which is handy if you're forever adding to and improving it.
I want to build a Live CD and I'll call it version 0.0.2.
A message appeared in the side bar telling me if I wanted to install my live system, I would have to install the live installer. Clicking on the message did this for me automatically. Which was a nice touch.
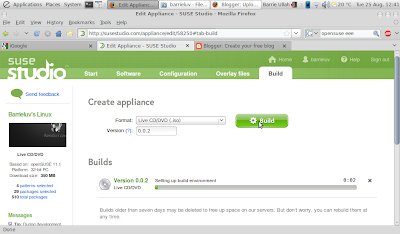
After hitting the Build button, a progress bar appeared...
...and in just under eight minutes, my live cd, "barrieluv's linux", was ready for download.
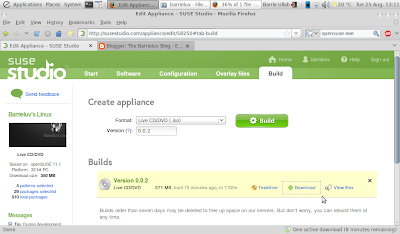
And when it's downloaded, I'll stick it on a USB drive using Unetbootin.
There is the option of Test Drive. Hitting this opens a tab with your distro running live inside it. A little slow perhaps, but a good tool for getting an idea of how things are progressing.
Results and comment to follow.

No comments:
Post a Comment